Tips and Advice
How to Remove Stickers: Easy Tips for Every Surface
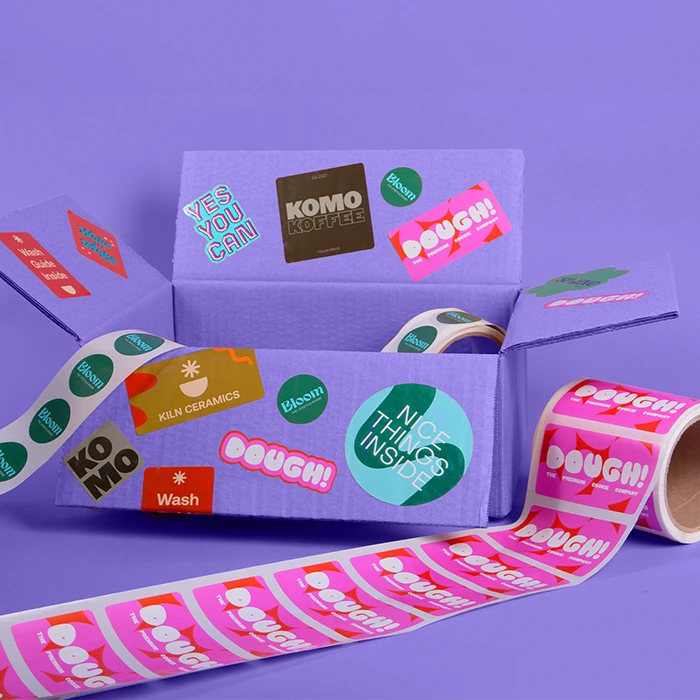
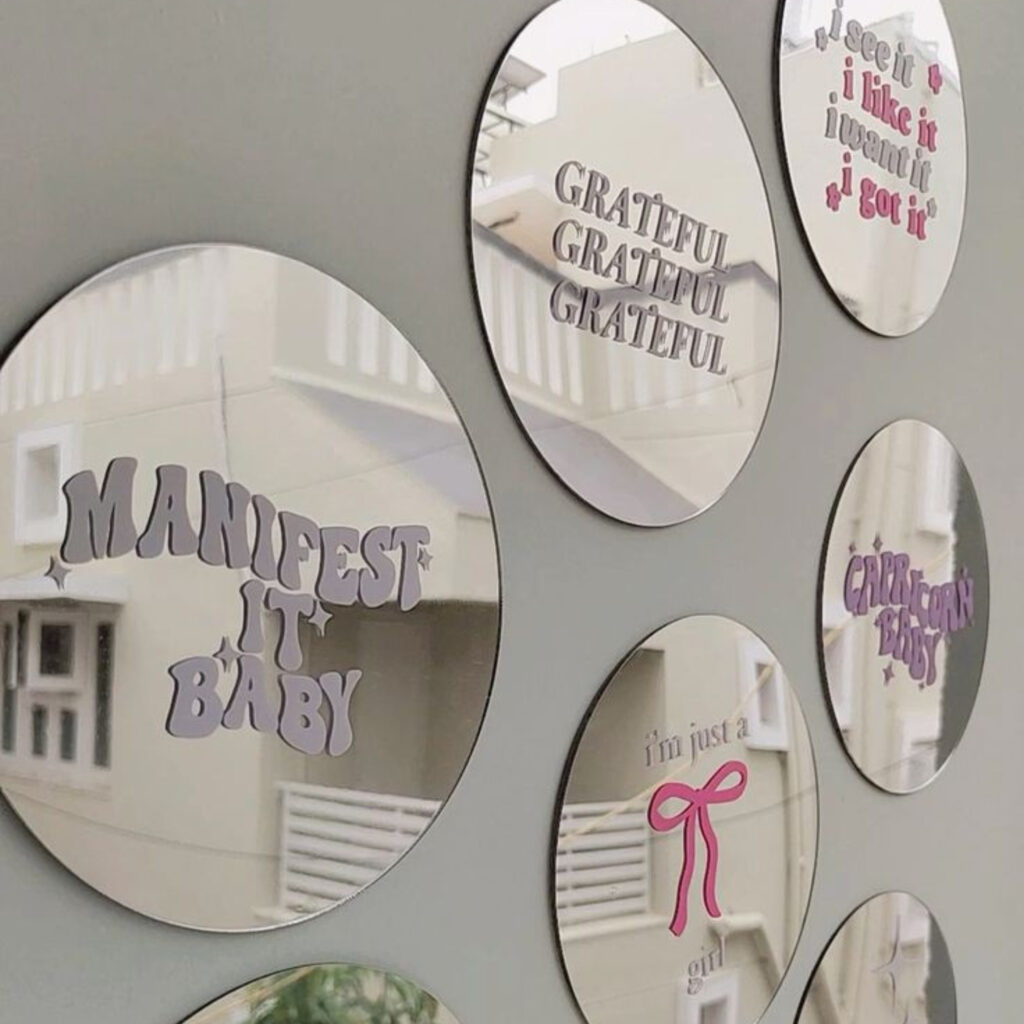
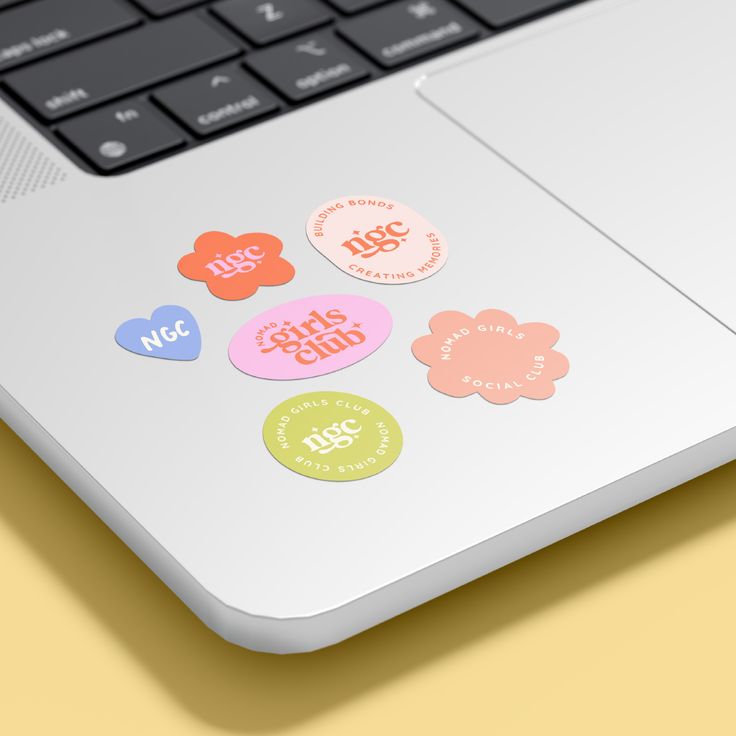
We’ve all been there. You peel off a Sticker only to discover it’s left behind a stubborn, gooey mess that seems impossible to shift. Whether it’s removing old Custom Sticker Sheets from your laptop, or clearing Custom Shape Die Cut Stickers from a child’s bedroom wall, dealing with adhesive residue can be incredibly frustrating.
The good news? You don’t need expensive products or risk damaging your surfaces. With the right techniques and a few household items, you can remove Stickers cleanly from almost any material. This guide will walk you through proven methods for different surfaces, plus share insider tips to avoid common mistakes that could leave you with an even bigger problem.
From glass and plastic to wood and metal, we’ll cover everything you need to know about Sticker removal, including how to tackle that dreaded sticky residue once and for all.
What You’ll Need
Before diving into removal techniques, gather these common household items. You likely already have most of them:
Heat sources:
- Hair dryer
- Warm water
- Iron (for fabric applications)
Gentle solvents:
- White vinegar
- Rubbing alcohol
- Cooking oil (olive oil works brilliantly)
- WD-40
Tools:
- Plastic scraper or old credit card
- Soft cloth or paper towels
- Cotton balls
- Baking soda
Optional commercial products:
- Goo Gone
- Eucalyptus oil
- Adhesive remover sprays

Sticker Removal Methods by Surface
Glass & Mirrors
Glass surfaces are amongst the most forgiving when learning how to remove Stickers from glass effectively. The non-porous nature of glass means you can use slightly more aggressive techniques without permanent damage.
Start by warming the Sticker with a hair dryer for 30-60 seconds. The heat softens the adhesive, making removal much easier. Gently peel from one corner using your fingernail or a plastic scraper. Work slowly, rushing often tears the Sticker and creates more work.
For stubborn Stickers on glass, try the oil method. Apply a generous amount of cooking oil to the Sticker and let it sit for 10-15 minutes. The oil penetrates the adhesive, breaking down its bond with the glass. Scrape gently with a plastic tool or credit card then clean with washing-up liquid to remove any oily residue.
Plastic
Plastic requires extra care as it can scratch or discolour easily. Heat is your friend here, but keep it gentle. Use warm (not hot) water or a hair dryer on low setting.
For Custom Stickers on plastic containers or personalised Stickers on children’s items, try this approach: soak a cloth in warm white vinegar and place it over the Sticker for several minutes. The acid in vinegar helps dissolve adhesive bonds without harming most plastics.
If you’re dealing with print Stickers on plastic surfaces, avoid using sharp tools entirely. Instead, use your fingers or a soft plastic scraper to prevent scratching the surface.
Wood
Wood surfaces vary dramatically in their tolerance to moisture and chemicals. Finished wood (with varnish or paint) can handle more aggressive methods than raw, unfinished timber.
For finished wood, use the hair dryer method but keep the heat source moving to avoid damaging the finish. Once warm, peel slowly while continuing to apply gentle heat.
Unfinished wood is trickier. Avoid water-based solutions that could cause staining or warping. Instead, use oil-based methods. Apply a small amount of cooking oil to the Sticker edges and work it underneath with a plastic scraper. The oil won’t damage wood and effectively loosens adhesive.
Metal Surfaces
Laptops, appliances, and other metal surfaces often accumulate Stickers over time. Metal can typically handle stronger removal methods, but be mindful of any coatings or finishes.
Rubbing alcohol works exceptionally well on metal. Soak a cotton ball and dab around the Sticker edges. Wait a few minutes, then gently lift a corner and continue applying alcohol as you peel. This method works particularly well for removing multiple Custom Stickers from laptops or equipment.
For painted metal surfaces, test your chosen method in an inconspicuous area first to ensure it won’t damage the paint.
Paper & Cardboard
Removing Stickers from books, cardboard boxes, or paper requires the most delicate approach. Too much moisture or heat can permanently damage these materials.
Try the ‘freeze method’ for paper surfaces. Place the item in a freezer bag and freeze for several hours. The cold makes the adhesive brittle, often allowing you to peel Stickers off cleanly. This technique works surprisingly well on book covers and doesn’t risk moisture damage.
For valuable items like first-edition books, consider consulting a professional conservator rather than attempting removal yourself.
How to Remove Sticker Residue
Successfully removing the Sticker is only half the battle. That sticky residue left behind can attract dirt and feels horrible to touch. Here are proven methods for different situations:
DIY Solutions
The oil technique works for most surfaces. Apply cooking oil generously to the residue and let it sit for 15-20 minutes. The oil breaks down the adhesive structure. Scrape gently with a plastic tool, then clean with soapy water to remove the oil.
Baking soda paste tackles stubborn residue effectively. Mix baking soda with a small amount of oil to create a thick paste. Rub this mixture over the residue in circular motions. The baking soda acts as a gentle abrasive whilst the oil dissolves the adhesive.
White vinegar excels at removing residue from hard surfaces. Heat the vinegar slightly (don’t boil) and apply with a cloth. Let it sit for several minutes before scrubbing gently.
Commercial Products
Goo Gone remains the gold standard for adhesive removal. It’s formulated specifically for this purpose and works on virtually all surfaces. Always test in an inconspicuous area first and follow the manufacturer’s instructions.
Eucalyptus oil offers a natural alternative that smells considerably better than most commercial removers. It’s particularly effective on residue from personalised Stickers and works well on both hard and soft surfaces.

Pro Tips & What to Avoid
Always test first. Before applying any removal method to the main area, test it somewhere inconspicuous. This simple step prevents costly damage and saves significant heartache.
Patience pays off. Rushing Sticker removal almost always creates more problems. Take your time, especially with delicate surfaces or valuable items.
Temperature matters. Heat softens adhesive, but too much heat can damage surfaces or make some adhesives stickier. Start with gentle warmth and increase gradually if needed.
Avoid these common mistakes:
- Using metal scrapers on soft surfaces
- Applying high heat to plastic or painted surfaces
- Soaking paper or cardboard with liquid solutions
- Pulling Stickers off quickly without preparation
Layer your approach. Start with the gentlest method appropriate for your surface. You can always escalate to stronger techniques if needed, but you can’t undo damage from starting too aggressively.
Frequently Asked Questions
Will removing Stickers damage my laptop?
When done properly, Sticker removal shouldn’t damage laptop surfaces. Use gentle heat, avoid metal tools, and clean thoroughly afterwards. Modern laptop finishes are quite resilient.
Can I reuse Stickers after removing them?
Generally, no. The removal process typically damages the adhesive backing, making reuse impossible. However, some high-quality Vinyl Stickers might survive gentle removal if they’re relatively new.
What’s the fastest way to remove multiple Stickers?
For bulk removal, use consistent heat (hair dryer) while systematically working through each Sticker. Don’t try to rush by using higher heat, this often makes adhesive stickier and harder to clean.
Are there any Stickers I shouldn’t attempt to remove myself?
Safety Stickers, compliance labels, and warning Stickers on appliances should generally stay in place. Additionally, consider professional help for valuable items like antique books or artwork.

Ready to Tackle Your Sticky Situation?
Removing Stickers doesn’t have to end in frustration and damaged surfaces. With the right approach for your specific material and a bit of patience, you can achieve clean, residue-free results every time.
Remember the golden rules: test first, start gentle, and don’t rush the process. Whether you’re clearing old Custom Sticker sheets from equipment, removing personalised Stickers from furniture, or dealing with stubborn price tags, these methods will help you get the job done properly.
Have you tried these techniques, or do you have your own tried-and-tested Sticker removal method? We’d love to hear about your experiences and any clever solutions you’ve discovered along the way.
About the author
Meet Maddie, our Social Media & Content Intern! When she’s not crafting eye-catching content, you’ll find her immersed in design projects, exploring new food spots, or enjoying long walks to recharge her creativity.